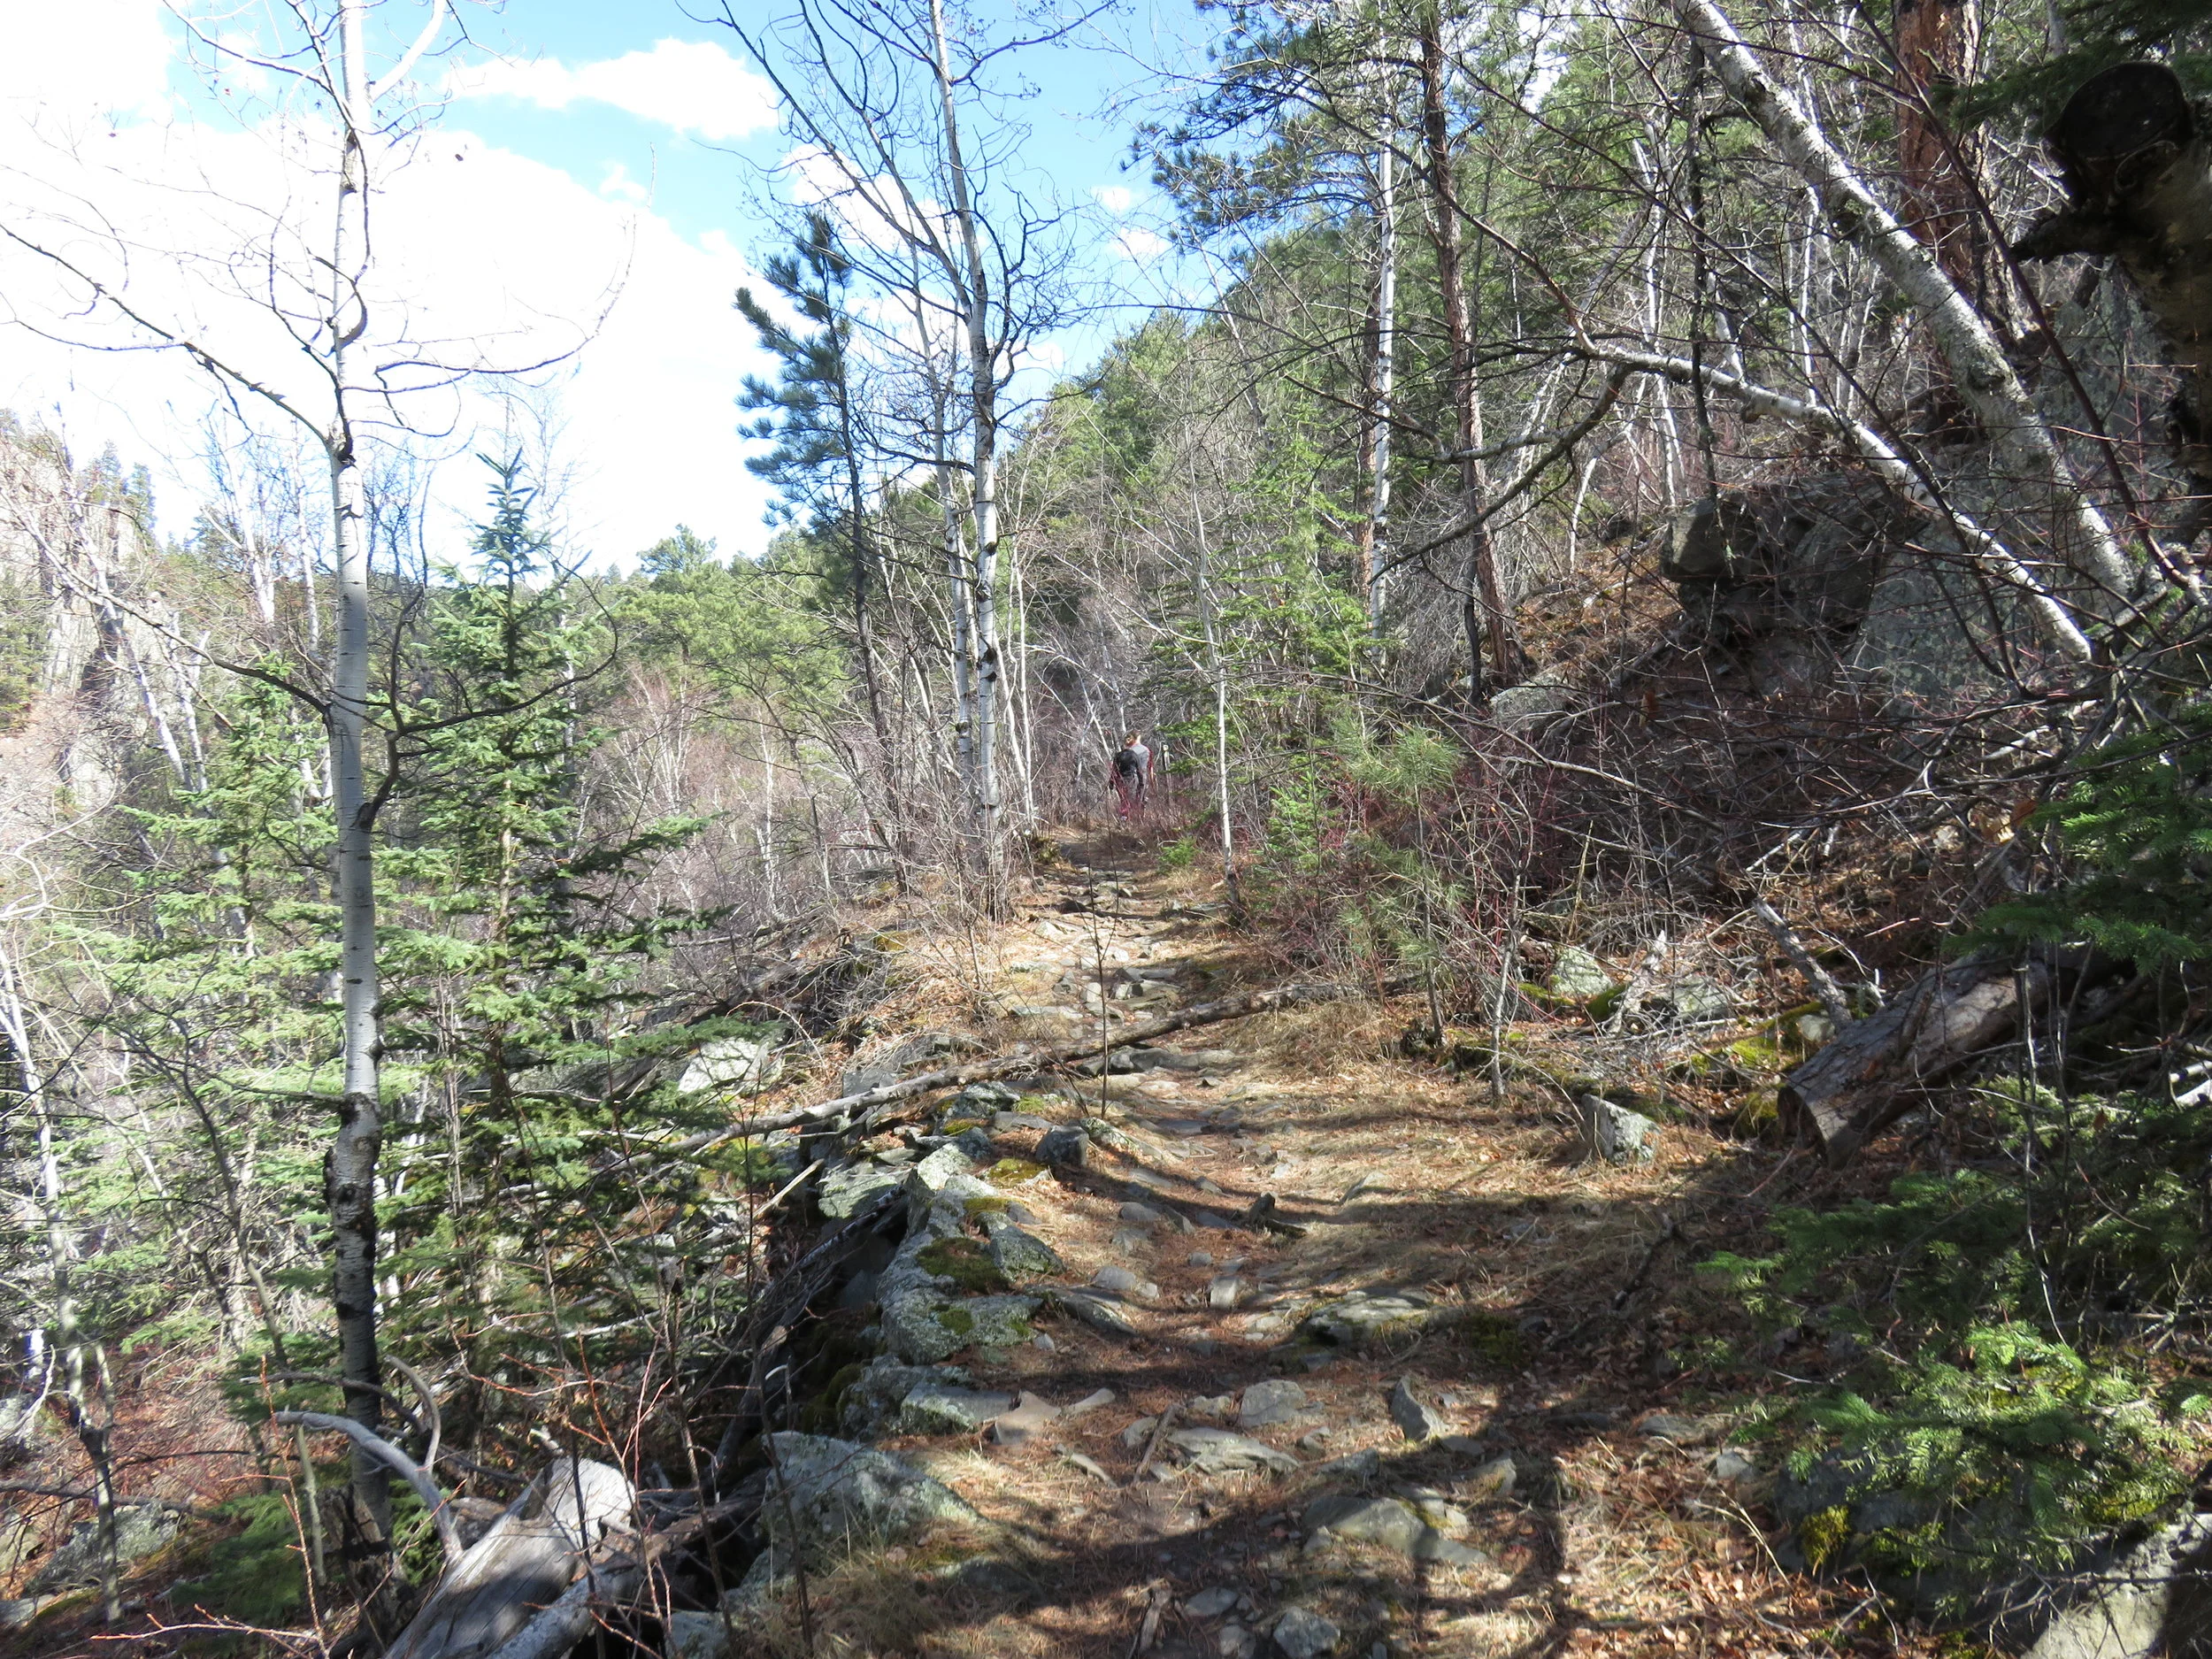
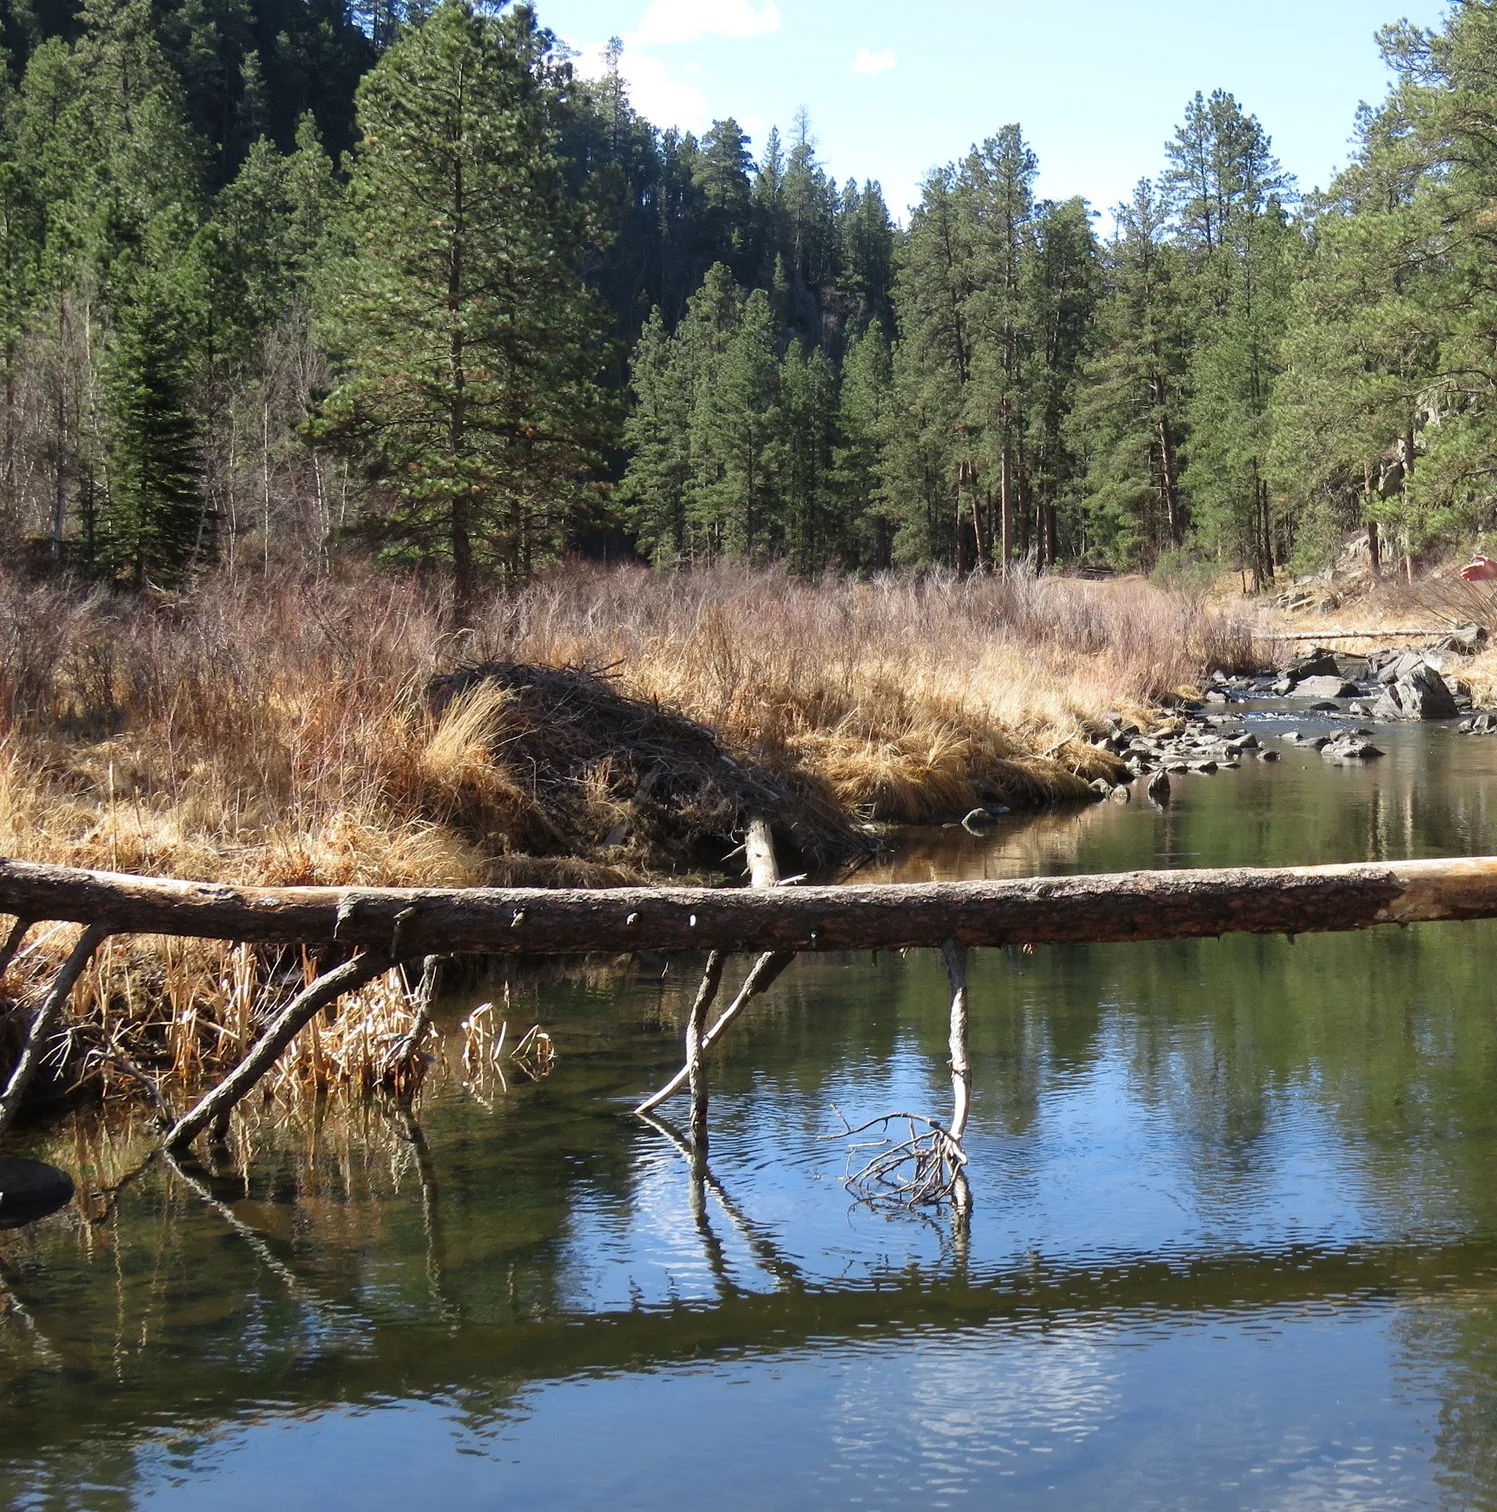
I'm going to preface this blog with the fact that my phone reinitialized itself and corrupted the SD card just as we were finishing up our return hike from the trail, so I don't have a track of the hike or many pictures. Sorry, but I'll add as much information as I can. I've included a link to the trail through AllTrails.com. ** Pictures of the trail added later***
First let me explain what the flume trail is. The Rockerville Flume, which operated until 1885, carried water 20 miles from Spring Creek west of present day Sheridan Lake, east to near Rockerville. The water was then used in rockers, which are hand operated devices used to separate gold and dirt. The trail follows the actual flume bed for part of its length and as you walk through these sections, you can see how the flume bed was built using wood and stones.
The trail has been designated a National Recreational Trail because of its historical significance. Because of age and decay, there are sections of the flume that are no longer hike-able and the trail bypasses these sections. When hiking on the actual flume, the grade is gradual and the trail is generally flat and 3 to 4 feet wide, which makes for a pleasurable hiking experience. There are several side loops that you can take, but the main trail is about 13 miles long, one way.
Our goal was to backpack the 13 miles of the Flume Trail, starting at Rockerville and ending up at Sheridan Lake, where we would spend the night and then return home on the same trail the next day. We started at about 9am on June 30th. The beginning of the trail is the Coon Hollow Trail head, just outside Rockerville. It was nice and fairly cool, good hiking weather. We knew it was going to rain later in the day, but we had just bought some new equipment and we wanted to see how everything would hold up in the weather.
The first 2.2 miles follows the flume pretty much the whole time. The trail does begin with a little bit of a climb to get to the start of the flume, but after that, it's a pretty nice hike. We have hiked this section many times.
The next 1.5 miles is the first major bypass of the trail and took us to the Boulder Hill Trail head. It includes a good climb that takes us over a ridge and then a descent to the trail head. Once we reached the trail head we had a couple of options. We could go north and continue on the flume for 3.5 miles as it works its way around the side of a hill, or continue west and take the shortcut for about .6 miles until it meets back up with the trail. We went north for the 2.5 miles around the hill. If you do decide to not take the shortcut and continue on the flume trail, make sure you don't miss the trail as it turns north before the Boulder Hill trail head.
The next 3-4 mile section of the trail is the least traveled section with much of it not being on the flume. Because it is lightly traveled there are parts of this section where the trail can be hard to follow, so don't hike with your head down. Keep an eye out for the trail markers. The Flume trail number is 50 and some of the markers are on trees, some are on posts, and some don't have the #50 on them. We had to back track a couple of times to get back on the trail.
Once we reached the first tunnel, we began the last 3 miles of the trail. The trail becomes heavily traveled again, follows the flume, and is very scenic. Unfortunately for us, this is where it started raining and did not stop for 12 hours. The first tunnel is very short, probably about 30 yards or so. We continued on the trail for about another mile until we hit the second tunnel.
Picture of 2nd tunnel taken earlier in the year.
Here we had the option of going through the tunnel or over it. Since it was raining, we decided to go through it. That was a mistake. The second tunnel is much longer, long enough that it gets pretty dark inside and can be hard to see. Unfortunately for us, that wasn't the worst part. The tunnel had flooded and there was 6 inches to 1 foot of water that we had to wade through. There are wooden planks along the tunnel floor to walk on, but they had become very unstable in the water. If it has been raining I suggest taking the trail over the tunnel. The west side of the trail over the tunnel is pretty steep, but probably still better that going through the tunnel.
We can see Spring Creek rushing by several hundred feet below us. There is a side loop that can take you down to the creek to add another couple of miles to your trip.
Spring Creek below the Flume Trail
The last couple of miles after the tunnel follow the Flume Trail again. We eventually reached Sheridan lake for the last mile.
Sheridan Lake Dam - Meets up with the Centennial Trail
The Flume Trail looking back
This is probably the most traveled section of the trail as many campers at Sheridan lake use this trail and it also meets up with the Centennial Trail for this last mile.
After we reached the end of the Flume trail we continued on the centennial trail for a good distance and set up camp off the trail. It didn't stop raining until late into the night, but we managed to set up our tent and cook some food. Because of the rain, we really didn't get to enjoy the evening, so we just hunkered down in the tent and retired early.
The following day was a beautiful day although it did get a little warm towards the end of the hike back. We took a couple of shortcuts and cut the return trip down to 10 miles. We went over the flooded tunnel, found a couple of sections of the trail that we had missed on the day before, and made it back to the car without any problems.
Taken later in the year -walking this trail in the Fall - just beautiful
Beginning of the trail from Sheridan Lake
Signs guide you to the trail
If a 13 mile hike is too much for you, there are several options.
1. You can cut 2 miles off the trip by taking the shortcut at the Boulder Hill trail head.
2. You could start at the Boulder Hill Trail head - that cuts it down to about 7 miles or so.
3. You could do what most people do and start at Sheridan Lake, hike the 2 miles to the long tunnel, and then return. It's the prettiest section of the trail and the easiest to follow.


